Prepping a go-bag has always been super handy, but putting one together for life in a city has its own quirks and priorities. Urban emergencies can include anything from power outages and transit disruptions to natural disasters. Having a go-bag tailored for these situations means you’re better set for quick evacuations or even just being stuck far from home. I’ve built several urban kits for myself and friends over the years, and I’ll walk you through the basics and a few things that might surprise you.
Why Urban Go-Bags Deserve Special Attention
A go-bag isn’t just for wilderness adventures. Cities pose their own risks. Tall buildings can block signals, streets clog up fast, and it’s not always easy to get to safety. Packing light and smart tends to help most in an urban setting, where you may need to move through crowded places, hop on public transit, or steer through closed streets.
Statistics show that city dwellers are more likely to face disruptions from things like grid failures or infrastructure problems than from wilderness mishaps. I’ve seen firsthand how fast shelves clear out during storms, and how even small disruptions can escalate when thousands of people are affected at once. With that in mind, urban kits put a premium on portability, speed, and stuff you’ll actually use.
Modern city layouts also mean evacuating might mean going on foot, biking, or catching a last-minute train. That’s why your go-bag should be compact and blend in. Carrying a camo duffel in downtown Manhattan is a good way to get weird looks. Neutral, everyday styled bags work best since they don’t attract attention.
Key Items for an Urban Go-Bag
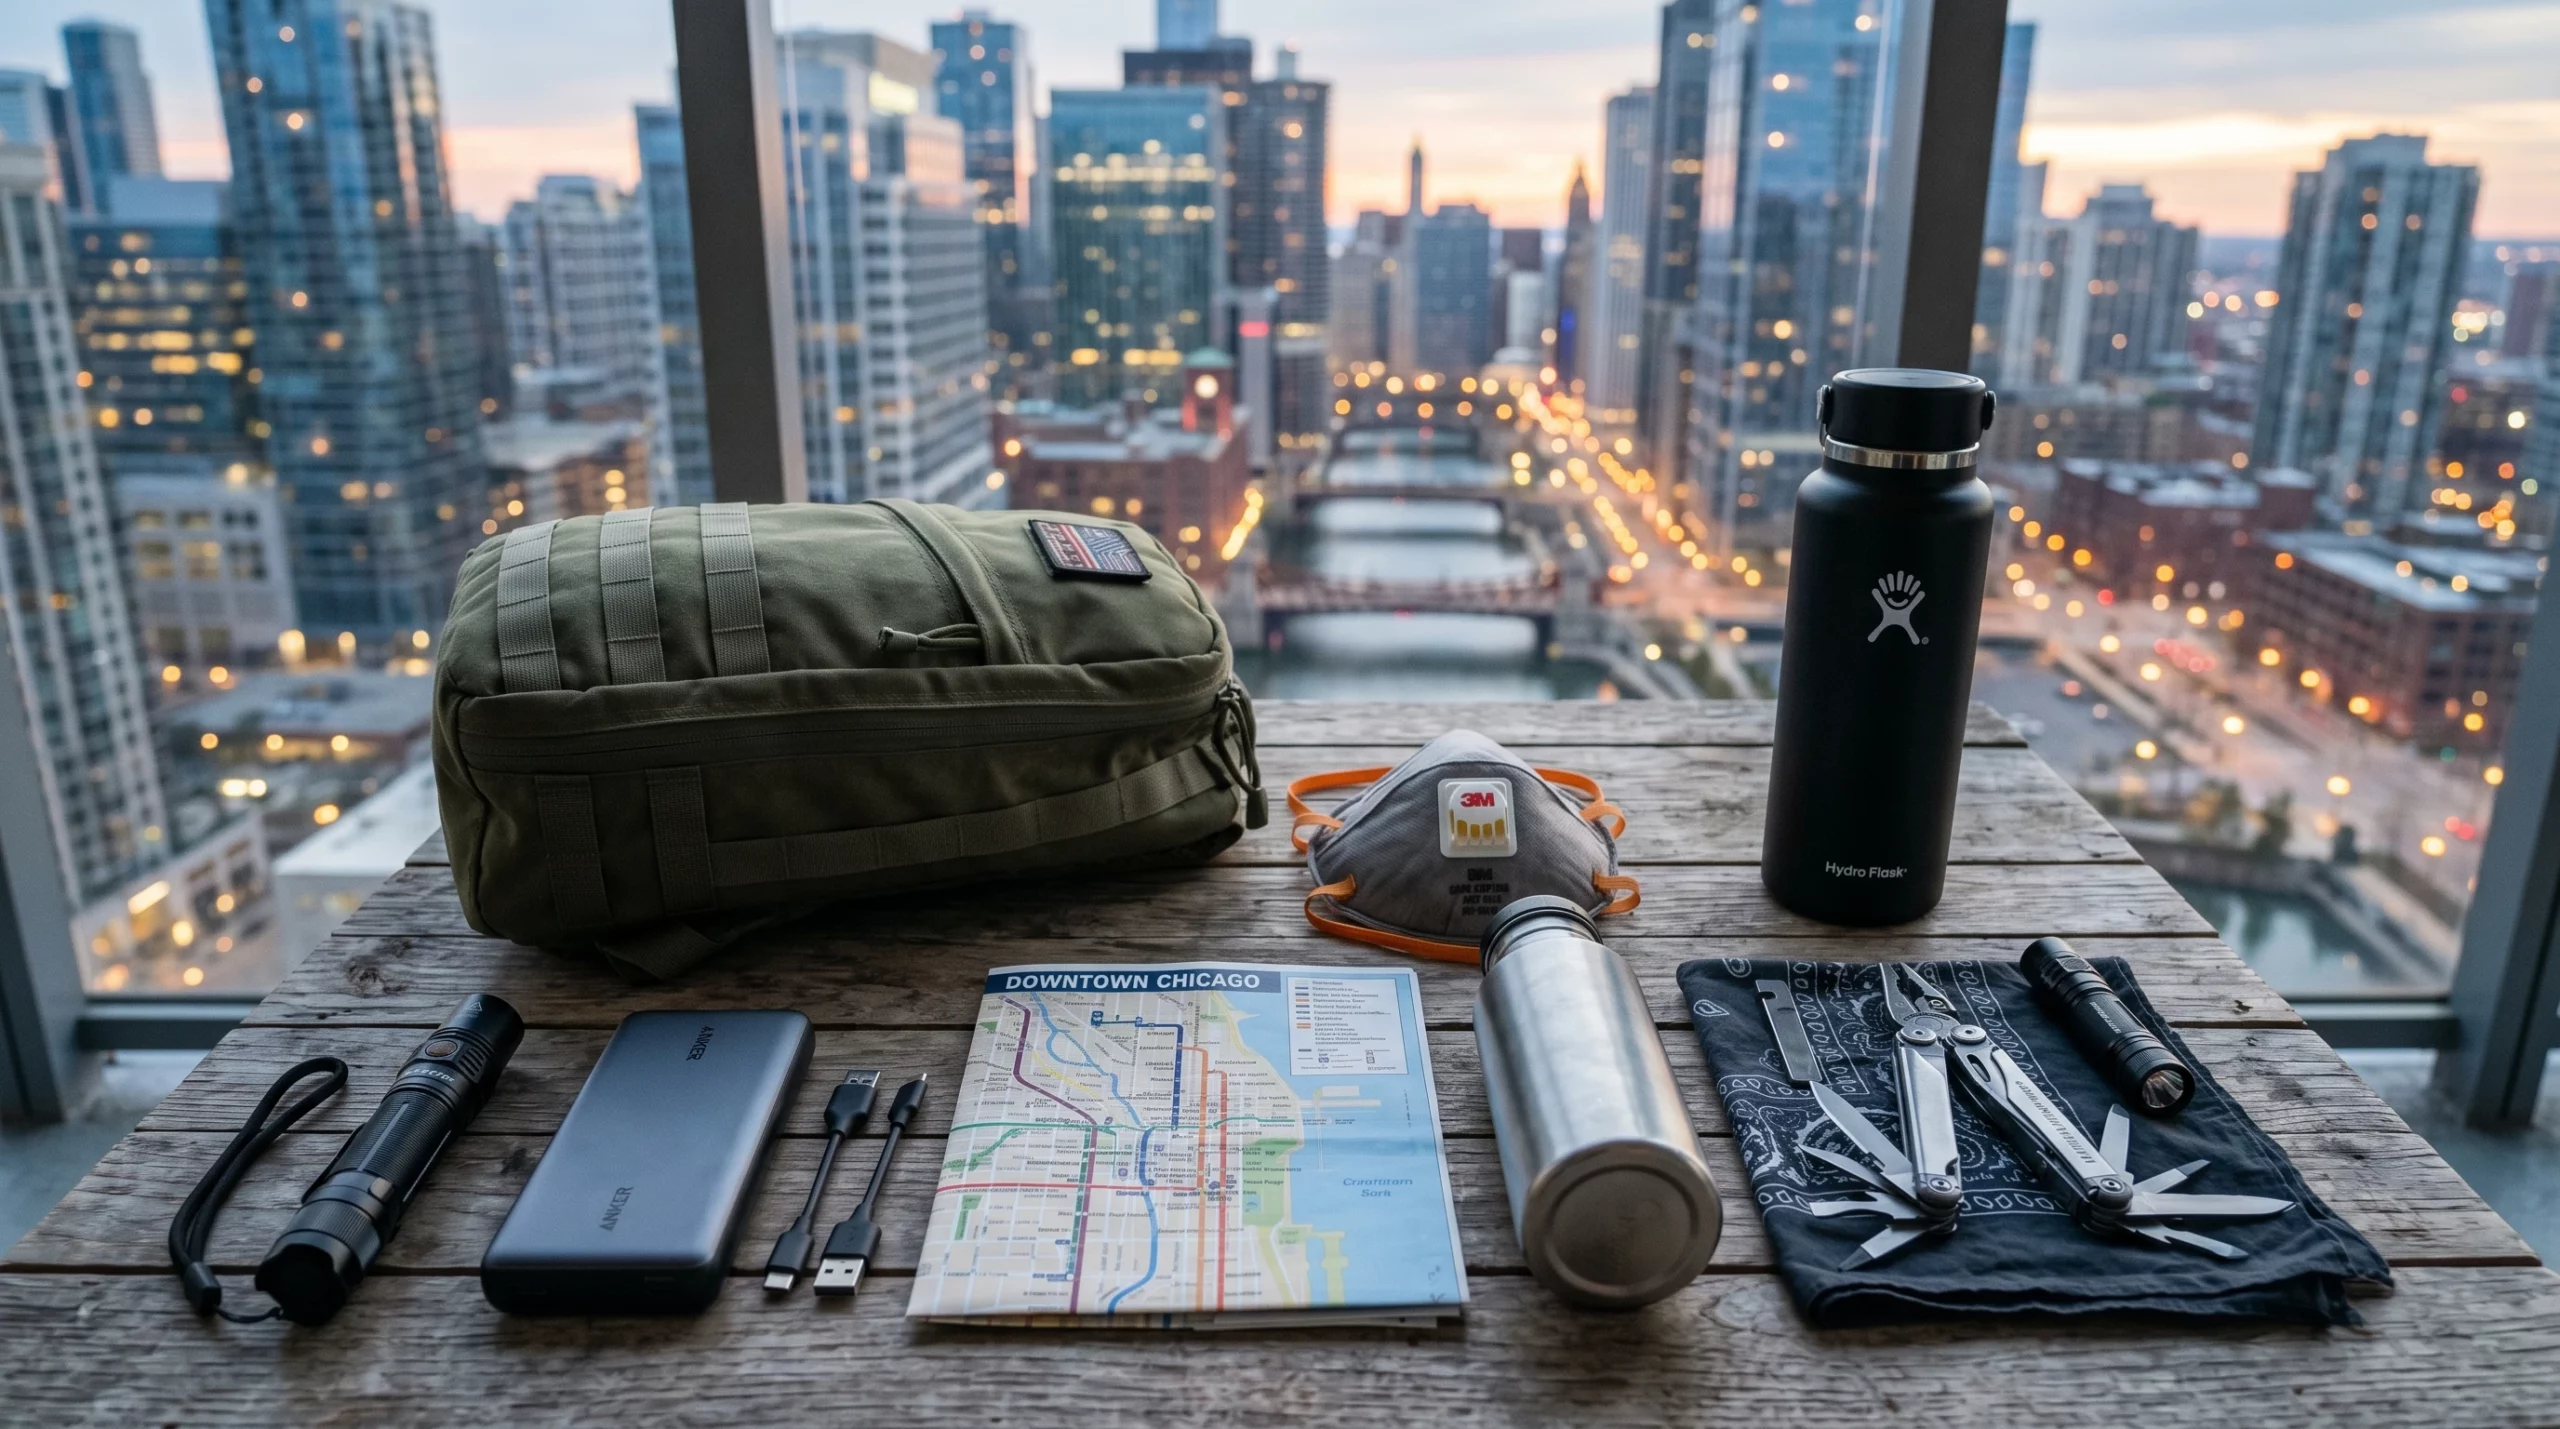
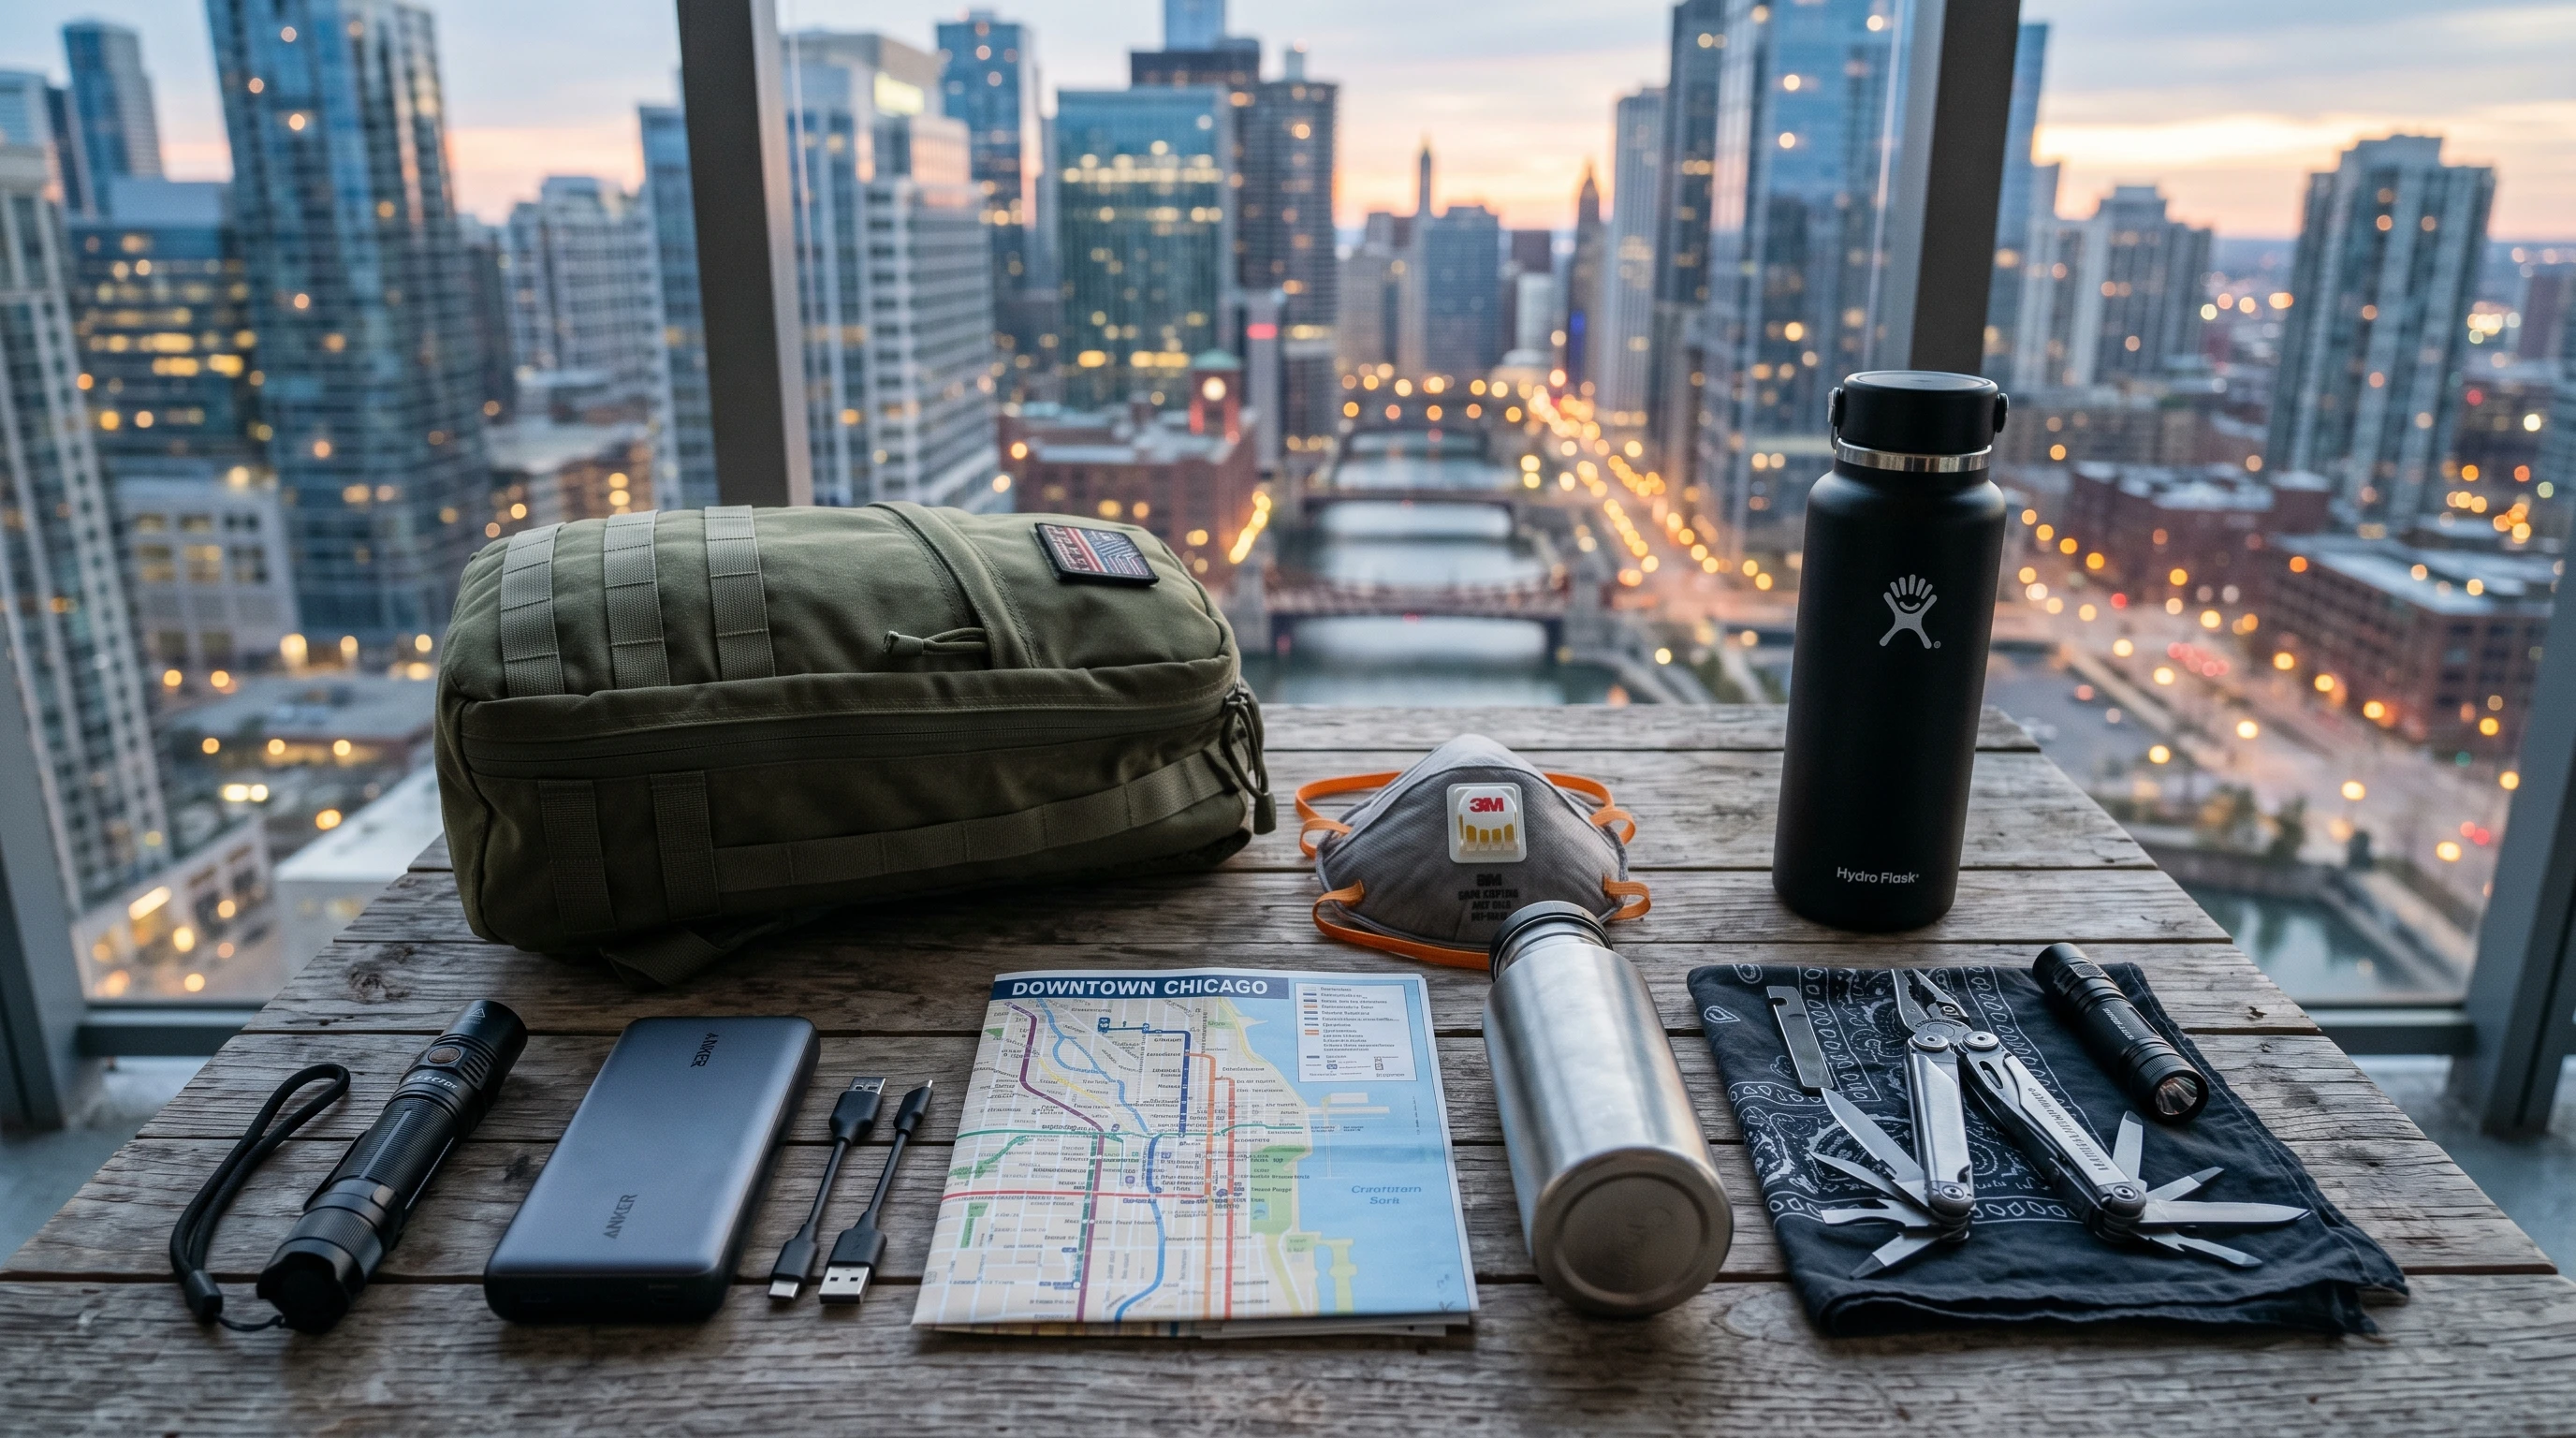
Building an urban go-bag is less about survival gadgets and more about keeping moving, staying connected, and handling hazards like smoke or glass. Here’s a rundown of the core items and why I always include them:
- Water & Filtration: Hydration is still king, but you don’t need a huge jug. One sturdy bottle (like a metal or smart folding kind) and a compact filter or set of tablets can be a lifesaver if infrastructure breaks down.
- Portable Charger & Cables: Phones die fast when you really need them, so I throw in a power bank and any charging cords for my gear. Solar chargers are nice, but most of the time, just topping up at a cafe or friend’s house is the play.
- First Aid Kit (Urban Edition): In the city, cuts from glass and scrapes are common, so I stock extra bandages, alcohol wipes, and a small burn cream tube.
- Respirator or N95 Masks: Smoke from fires, dust from construction, or even illness outbreaks make a NIOSH-approved mask really valuable. These take up little room and are super useful in a pinch.
- Multitool: Basic repairs or getting through a jammed door sometimes call for a screwdriver or pliers. There are some really compact multitools now that fit easily in a side pocket.
- Flashlight & Glow Sticks: Power goes out surprisingly often during city emergencies, and stairwells are pitch black. I carry a small LED flashlight plus a few glow sticks for hands-free light.
- Map & Contact List: Even if you’re a maps app person, I keep a pocket-sized city map and a card with phone numbers. If my phone is dead (or lost), oldschool paper comes in clutch.
- Snacks (Nonperishable): Granola bars, trail mixes, or even a few hard candies mean you won’t be hangry in a gridlock or blackout.
- Cash (Small Bills): A lot of city shops can’t take cards during a blackout. Stashing $40-60 in small bills can help you buy water or transport when everything else goes down.
- Personal Protection: Pepper spray, a whistle, or other locallegal selfdefense tools. Cities can get sketchy in emergencies, so something for your peace of mind matters.
Quick Start Guide: Putting Together Your Go-Bag
Here’s how I get started when building a new urban go-bag for myself or friends:
- Pick the Right Bag: Go for a comfy, everyday looking backpack. Water resistant is nice, but doesn’t need to be tactical. Something 20-30 liters usually fits the bill.
- Pack Essentials First: Add water, snacks, first aid, and your phone gear. These are the things I end up reaching for most often, even outside of emergencies.
- Organize for Access: Use pouches or clear bags to separate first aid, tech, and hygiene supplies. I hate digging through a mess, so I keep the critical items in outside pockets.
- Add Documents: A copy of your ID, medical info, and a contact card in a zip bag. Digital is great, but paper backups are gold if you lose access to your accounts.
- Update Regularly: Batteries die and snacks expire. I give my kit a check every few months and swap out what’s old (plus, it reminds me what’s in there!).
You can scale up from this list, but these basics cover a lot of ground and fit easily in a small bag that won’t weigh you down.
What Urban Go-Bag Challenges Look Like
The city throws unique curveballs your way. Here are a few I’ve bumped into and tips to make things easier:
- Heavy Traffic and Closed Streets: In real world emergencies, streets can jam up and force you onto footpaths or through parks. A lighter bag really helps if you have to walk or bike a long way.
- No Phone Signal: Tall buildings and overloaded networks can make your phone a paperweight. Having physical maps and preset meeting points pays off. My friends and I agree on a meetup spot ahead of time.
- Security and Privacy: Cities sometimes see looting or crime spikes during blackouts. Keeping a lowprofile kit and avoiding flashy gear helps you blend in better.
- Sudden Weather Changes: Urban flash floods or snowstorms can catch you off guard. I keep a compact rain poncho and a small folding umbrella in my kit, which takes up almost no space.
Heavy Traffic and Transit Closures
During Hurricane Sandy in NYC, subways shut down and even cabs were tough to catch. My backpack was light enough to carry for miles. Pre-planning a walking route and knowing alternatives, like ferries or bikeshare networks, speeds things up.
Phone Dead Zones
Once, during a massive Midtown outage, my phone had no bars and no wifi. A preloaded offline map app and a city street map got me home, even when the GPS was down.
Security on the Streets
I’ve never needed to use pepper spray, but having it makes me feel a whole lot better when making my way through a dark or unfamiliar part of town late at night. Local rules are important. Check municipal laws before adding anything protective to your kit.
Pro Moves: Upgrading Your Urban Go-Bag
If you want to take your kit up a notch, here are a few options that I’ve found genuinely helpful:
Pack a Compact Power Strip: During citywide emergencies, power outlets are gold. A tiny multiport charger lets you share a rare outlet with others or charge all your things at once.
Metro Card or Transit Pass: Many cities run limited transit in emergencies. Keeping a preloaded card for subways and buses is a real advantage when everyone is scrambling for tickets.
Small AM/FM Radio: With cell signals down, local info still gets out over radio. There are pocketsized models that run on batteries or crank power worth checking out.
Charger Adapters: Cities with diverse populations might have different outlets or charging options in public places. Tossing in a universal charger adapter means you’re not stuck looking for the right plug.
You may also want to consider earplugs (for sleeping on the go), spare socks, or a small notebook and pen for jotting down info. These little upgrades don’t take up much space, but can give a boost to your comfort and flexibility.
Best Practices: How to Keep Your Urban Go-Bag Ready
I treat my go-bag like a regular upgrade project instead of a one-and-done prepper stash. People’s needs change, and cities introduce new tech or rules often. Here’s how I keep mine fresh:
- Rotate Outdated Supplies: Change out snacks, bandages, and batteries every few months to keep everything ready to use.
- Stay Current: Local transit or communications tech changes fast. I subscribe to my city’s emergency notification SMS to keep in the loop.
- Keep It Accessible: Store your go-bag somewhere you can grab it fast, not buried deep in storage.
- Practice Your Plan: I do a quick “grab and go” drill twice a year just to make sure my stuff is where I think it is. Helps spot missing items before crunch time.
Frequently Asked Questions
Some questions pop up constantly when folks start talking about go-bags for city life. Here are a few with my answers:
Question: Should I make an urban go-bag even if I rarely leave my apartment?
Answer: Absolutely. Even if you mostly work at home, blackouts, fires, or gas leaks could mean a quick evacuation. A go-bag is also handy for unplanned overnight stays elsewhere.
Question: How heavy should my go-bag be?
Answer: For city life, keep it under 15 pounds if you can; lighter is better, since you may walk for long stretches or carry it in crowded spaces.
Question: How often do I need to update my bag?
Answer: Check it every 3-6 months and after any local scare (like a storm or security event). Swap out expired food, dead batteries, and update documents if something changes.
Start Building Your Own Go-Bag
Putting together an urban go-bag is less about copying someone else’s checklist and more about thinking through the real risks in your city. Tweaking it for your daily life and routes makes it actually useful, not just a pile of gear gathering dust. The best kit is one you can reach and carry comfortably, stocked with the everyday supplies that make moving through a city under stress way smoother.
Once you’ve got yours packed, run a few drills or challenge yourself to use only your kit for a whole day. Small stuff like that can reveal the little upgrades you didn’t know you needed. City emergencies might look different from backwoods disasters, but a bit of planning goes a long way to keeping you safe, comfortable, and ready to roll, no matter what the city throws your way.